Introduction
Buttons are an essential part of our clothing, and knowing how to sew a button is a valuable skill that can save you time and money. In this blog post, we’ll provide a step-by-step guide on the proper way to sew a button, ensuring a secure and professional finish.
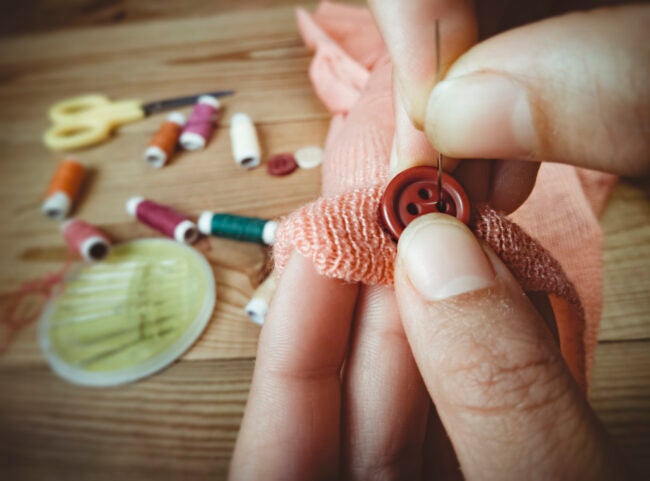
Materials Needed
- Button of your choice
- Needle (preferably a sharp needle)
- Thread (matching the color of your fabric)
- Fabric or garment to attach the button
- Scissors
- Straight pins (optional)
- Thimble (optional, but recommended for added protection)
Step 1: Prepare the Thread and Needle
- Cut a piece of thread about 18-24 inches long.
- Thread the needle by passing the thread through the eye of the needle.
- Double the thread by pulling it until both ends meet.
- Tie a knot at the ends of the thread, creating a loop.
Step 2: Mark the Button Position
- Determine the position where the button will be attached.
- Mark the spot with a straight pin or tailor’s chalk.
Step 3: Sew the Anchor Stitches
- Bring the needle up through the fabric from the back to the front at the marked spot.
- Sew a small ‘X’ or cross-stitch to create an anchor point for the button.
- This will also help secure the knot at the end of your thread.
Step 4: Attach the Button
- Position the button over the anchor stitches.
- If your button has two holes, insert the needle from the back to the front through one hole and then through the second hole from the front to the back.
- If your button has four holes, sew through the first two holes as mentioned above, and then repeat for the remaining two holes.
- Ensure that the button is sitting flat and straight on the fabric.
Step 5: Create the Button Shank (for buttons with a shank)
- For buttons with a shank, insert the needle into the fabric, making sure it comes out through the button’s shank.
- Wrap the thread around the shank several times to secure the button in place.
- Finish by passing the needle through the fabric to the backside.
Step 6: Secure the Button
- After sewing through the buttonholes several times (3-4 times for two-hole buttons, 2-3 times for four-hole buttons), bring the needle to the back of the fabric.
- Create a loop with the thread, and pass the needle through it to form a knot.
- Repeat this process 2-3 times to secure the button tightly.
- Trim the excess thread with scissors, leaving a small tail to prevent unraveling.
Conclusion
Congratulations! You’ve just learned the proper way to sew a button. This essential skill will allow you to repair and maintain your garments, saving you time and money in the long run. Practice your newfound skill on different types of buttons and fabrics to become a proficient button-sewer in no time!